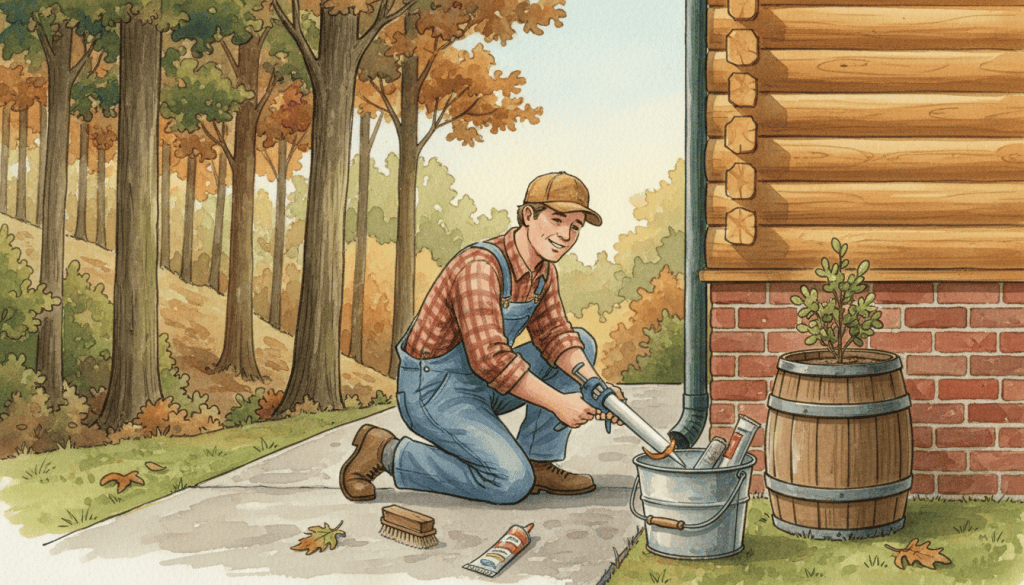
In short: Along the base of the house next to the concrete pad, the joint has opened up, two downspouts empty against the wall, and there’s a hairline crack and a few small gaps and holes. Most trace back to water collecting there. This guide discloses each item and explains how to fix it, mostly with low-cost weekend work.
These are suggestions, not professional advice. Click here to read the full note.
The repairs and improvements described here are our best understanding from research and our own experience living on the property. We are not contractors, engineers, or licensed inspectors, and these may not be the best or only solutions. Before starting any repair or project, please consult a qualified professional, such as a contractor, drainage specialist, or home inspector, who can look at the site in person.
Honesty matters to us. When we notice something about this house that a future owner should know, we say so plainly, along with how to take care of it. We’d rather a buyer hear it from us first than discover it later. This guide is written in that spirit, so the next caretakers of this home know exactly what it needs and how to give it.
How This Guide Came About
In October 2026, Patricia, a resident of the Living Springs Log House, took photos along the base of the house on the side next to the concrete pad. She shared them with Claude.ai, Anthropic’s AI assistant, which looked over the pictures and gave its analysis of what it saw: the worn joint where the pad meets the foundation, the downspouts, a hairline crack, and a few other things worth attention. Patricia added what she knew about past moisture in the basement suite. What follows is that analysis, written up as an honest disclosure and a plain guide to fixing each item. Claude’s observations come from photos only, not an in-person inspection, which is one more reason we encourage buyers to bring their own inspector.
Disclosure
We want buyers to have a clear picture of the property. In October 2026 we observed the following along the base of the house on the side next to the concrete pad:
- Open joint between the concrete pad and the foundation. In several places there is an open gap where the concrete pad meets the foundation wall. The original sealant has worn out, and dirt and leaf debris have collected in the gap.
- Downspouts empty at the foundation. Two downspouts empty directly onto the pad right beside the wall. Green algae staining along the base shows that water collects there after rain.
- Hairline vertical crack in the foundation. A hairline crack runs up through the textured foundation coating to the bottom log. It does not appear to be shifted or widening. It has not been evaluated by a professional.
- Gap beneath the bottom log. In one area there is a visible gap between the lowest log and the top of the foundation.
- Small holes in some lower logs. A few small round holes appear in the lower logs. They may have been made by insects such as carpenter bees.
- Leaves and soil collecting at the base. A wooded hillside slopes toward the concrete pad. Leaves, nuts, and soil gather along the foundation.
- Past moisture in the basement suite. A resident living in the basement suite noticed moisture along the wall and on the floor. The source was never determined. After the moisture was cleaned up and a dehumidifier was used regularly, along with air conditioning in the house, the problem went away.
We did have a home inspector do a pre-inspection, but somehow these items along the foundation edge were missed. Patricia is no expert in building. But because she and Barbara are dedicated to full disclosure, she has used her observation skills to learn as much as she can, and has asked for help from experts as well as from Claude. It seems no one person can see the full picture, and inspectors can’t be expected to be perfect. We encourage buyers to have these items looked at by their own inspector.
How to Repair It
These are common conditions where a concrete pad meets a house. Most of them can be handled by a handy owner in a weekend or two with materials from any hardware store.
1. Reseal the joint between the pad and the foundation
Materials: a stiff brush, a shop vacuum, a screwdriver or putty knife, closed-cell foam backer rod a little wider than the gap, self-leveling polyurethane concrete joint sealant, and a caulk gun.
Steps:
- Scrape out the old crumbling sealant and the debris.
- Vacuum the joint clean and let it dry completely.
- Press the backer rod into the gap so the sealant only needs to be about ¼ to ½ inch deep.
- Run the sealant along the joint. It levels itself and forms a flexible, watertight seal.
- Work on a dry day within the temperature range listed on the tube.
2. Catch roof water in rain barrels for the garden
Rather than letting rainwater pour onto the pad, save it. A roof sheds a surprising amount of water in one storm, and every gallon caught is a gallon for the garden.
- Make or buy barrels. Food-grade 55-gallon drums make good homemade rain barrels. Add a spigot near the bottom and a screened opening on top.
- Shorten the downspout so it empties into the top of the barrel, or install a diverter kit that fills the barrel and sends the rest down the spout.
- Raise the barrel on a sturdy, level base of concrete blocks. The extra height gives better water pressure for a hose.
- Screen the top to keep out mosquitoes and leaves.
- Add an overflow hose and run it downhill, well away from the house, so a full barrel never spills onto the pad.
- Link two or more barrels together for more storage.
- Run a garden hose or soaker hose from the spigot straight to the garden beds.
- Before hard freezes, drain the barrels and attach downspout extensions for winter, so water lands 4 to 6 feet from the house.
- Clean the gutters each fall, since the oaks drop heavily here.
3. Seal the hairline crack
- Brush the crack clean.
- Fill it with concrete crack sealant or polyurethane masonry caulk. Paint over it to match the foundation if you like.
- Mark each end of the crack with a pencil line and the date, then check it twice a year.
- If it widens past about ⅛ inch, or one side moves out of line with the other, have a foundation professional take a look.
4. Check and seal the gap under the bottom log
- Press a screwdriver firmly into the bottom log along that area. Solid wood means it’s sound.
- Seal the gap with a flexible log-home sealant or chinking in a matching color.
- If the wood feels soft, have a log-home restoration specialist look at it before sealing.
5. Fill the small holes in the logs
- If carpenter bees are the cause, wait until late fall or winter, when the holes are no longer in use, so no bees are harmed.
- Fill the holes with wood filler or a snug dowel and exterior caulk, then touch up the stain.
- Keep the logs stained and sealed. Carpenter bees prefer bare, weathered wood.
6. Keep the base clear and dry
- Rake leaves and nuts away from the wall each fall.
- Keep soil and mulch from piling up against the foundation.
- For extra protection, a shallow gravel channel at the foot of the hillside can steer runoff around the pad instead of toward the house.
7. Keep the basement suite dry
- Run a dehumidifier set to about 45 to 50 percent humidity. A drain hose to a floor drain or sink saves emptying the bucket.
- Use air conditioning in warm, humid months.
- Wipe up any moisture right away, and check along the wall after heavy rains.
- An inexpensive humidity gauge makes it easy to keep an eye on things.
- Sealing the outside joint and moving the roof water away (steps 1 and 2) should help keep moisture from coming back.
Rough Cost
Doing it yourself, materials for the sealing and cleanup work usually run around $100 to $200. Homemade rain barrels from recycled drums cost little beyond a spigot and fittings. Ready-made barrels typically run about $50 to $150 each. A local handyman could do the repair work in a day or two.
A Few Insights
- Most of what showed up in the photos traces back to one thing: water collecting where the pad meets the house. Move the water and seal the joint, and most of the other items get easier.
- Small, inexpensive fixes done now prevent large, costly ones later.
- Roof water doesn’t have to be a problem. Caught in rain barrels, it becomes water for the garden.
- Photos are a good first look, but they aren’t a substitute for someone standing there with a flashlight and a screwdriver.
Related articles
How We Wrote This Together
This guide was written together by Patricia, a resident of the Living Springs Log House, and Claude.ai, an AI assistant made by Anthropic. Patricia took the photos and shared what she knew about the house. Claude studied the pictures, described what it saw, and researched practical, low-cost repairs. We went back and forth until it read clearly and accurately.
With thanks to Claude.ai by Anthropic for its help analyzing the photos and writing this guide.
Learn more about the property at www.livingspringsloghouse.com


[…] Foundation Edge Disclosure and Repair Guide […]
LikeLike
[…] notes on repairs and small fixes. Read more: Foundation Edge Disclosure and Repair Guide and Small Gaps, Honest […]
LikeLike
[…] Foundation Edge Disclosure and Repair Guide […]
LikeLike